

Hiking Tips for Wolfberg Cracks, Cederberg. South Africa

The start of Wolfberg Cracks Hike in Cederberg, South Africa (near Cape Town)
The Wolfberg Cracks, located in the stunning Cederberg region of South Africa, are a spectacular natural wonder worth exploring. Hikers can expect an awe-inspiring journey through narrow rock corridors, with breathtaking views of the surrounding mountains. In this blog I share the following:
Guidance for hiking up the cracks, including what to bring, where to go, how to obtain permits, etc.
Wolfberg Crack Photos.
A video of my journey up the cracks to give you an idea. It’s a motivational video, do watch it.
Just a quick hello: I am Muji and so glad you stopped by! I am a passionate writer, photographer and filmmaker living in beautiful Cape Town, South Africa.
For locals, this spot is a must-visit, but if you’re a tourist in Cape Town, the Cederberg offers a perfect getaway, with options for camping or staying in cozy cottages at Sanddrif or nearby farms. Other attractions in the area include the impressive Stadsaal Caves, the scenic River that flows through the region, the Lot’s Wife trail, and opportunities for cycling and wine tasting. Rock climbers from all over the world flock here in the Cederberg region every year.
How to get the permit Wolfberg Cracks
Wolfberg Cracks are a private property. You don’t need a permit from Cape Nature if you are only doing Wolfberg Cracks. Permits to the Wolfberg Cracks are sold at Dwarsrivier's reception, also known as Sandriff Holiday Resort. While you need at least two people to go to Wolfberg Arch, the reception at the Swarsrivier/Sanddrif Holiday Resort (same place) will permit you to hike the cracks alone. They have credit card machines. You can get the permit even if you are not staying at the resort. They will provide the code for the gate that takes you to the parking from where you start your hike. You need a high clearance vehicle to reach Cederberg and the walk's starting point.
What to take up Wolfberg Cracks:
Hiking Poles/Sticks (not mandatory but I recommend you do that)
Whether it’s summer or winter, I suggest drinking at least 1 litre of water. Drink sparingly, and leave the most towards the end of the hike. I usually take 1.5 liters of water.
A few small snacks of your choice.
Pack light as every step becomes heavy, especially on the way back.
Wear sunblock, sunglasses and at least a hat. I usually wear long sleeves and cover my neck, but that’s just me. I don’t like tanning.
Wolfberg Cracks Hiking Route
The route is not well marked, at least when I went in late 2024 and 2025, but it’s not difficult to find your way either. If anything, follow others. It can be a little crowded on the weekend or holidays but not in hundreds, it’s good company to have. I prefer to start at sunrise by getting the permit and the gate code a night before. Winter months can be rainy, and they might not allow going up because it can become slippery. I prefer cooler months instead of the heat of December and January. Even then, if you do it early enough in the morning, you can beat the sun.
When you get the permit at the reception, the kind staff usually guides you and tells you how long it would take to go up and down if you take the route up and through either the left or the proper crack. Still, many underestimate what they say because the details are not explicitly shared. They deal with many people daily, so explaining the intricacies to everyone is impossible.
The route to the Wolfberg Cracks is moderately challenging, requiring good fitness and some scrambling.
Hiking up: If you are fresh, although tiring, reaching the entrance of the cracks is not that big of a challenge despite the steep hike and scrambling over large rocks.
Hiking down: I have always seen people dreading the downhill hike. There’s nothing gradual about the hike up or down; it starts steep with the word "go!" I have rarely seen people with hiking poles there, but I always take two sticks with me, as I take an extra hour to descend because of my knee problems. While hiking sticks can be extremely helpful, the terrain is manageable without them.
The hike typically takes 4 to 5 hours, depending on your fitness level. Most people finish it in 4 hours.
Route Up: The Real Decision - Two Giant Cracks to Choose From
After hiking up, once you reach the entrance of the cracks after scrambling the big rocks, you have a choice.
Crack on the left, easier option: Turn left into a wide crack that needs scrambling but also has a proper path surrounded by trees, almost like a bit of forest. I recommend this to families with small children, particularly those carrying toddlers. Also, if you are carrying large back packs and going further to Wolfberg Arch for Camping, this is the route for you. I also suggest it to individuals who cannot pull themselves up, have larger bodies and weaker muscles, fear heights, and experience claustrophobia, as the path on the right is quite challenging.
Crack on the right, challenging option: If you are physically fit, not afraid of heights, do not suffer from claustrophobia, and don’t mind navigating through narrow passages, lying on your back, and crawling under the rocks before pulling yourself up, this path is for you. I have seen 9-10-year-olds do this with the help of their parents.
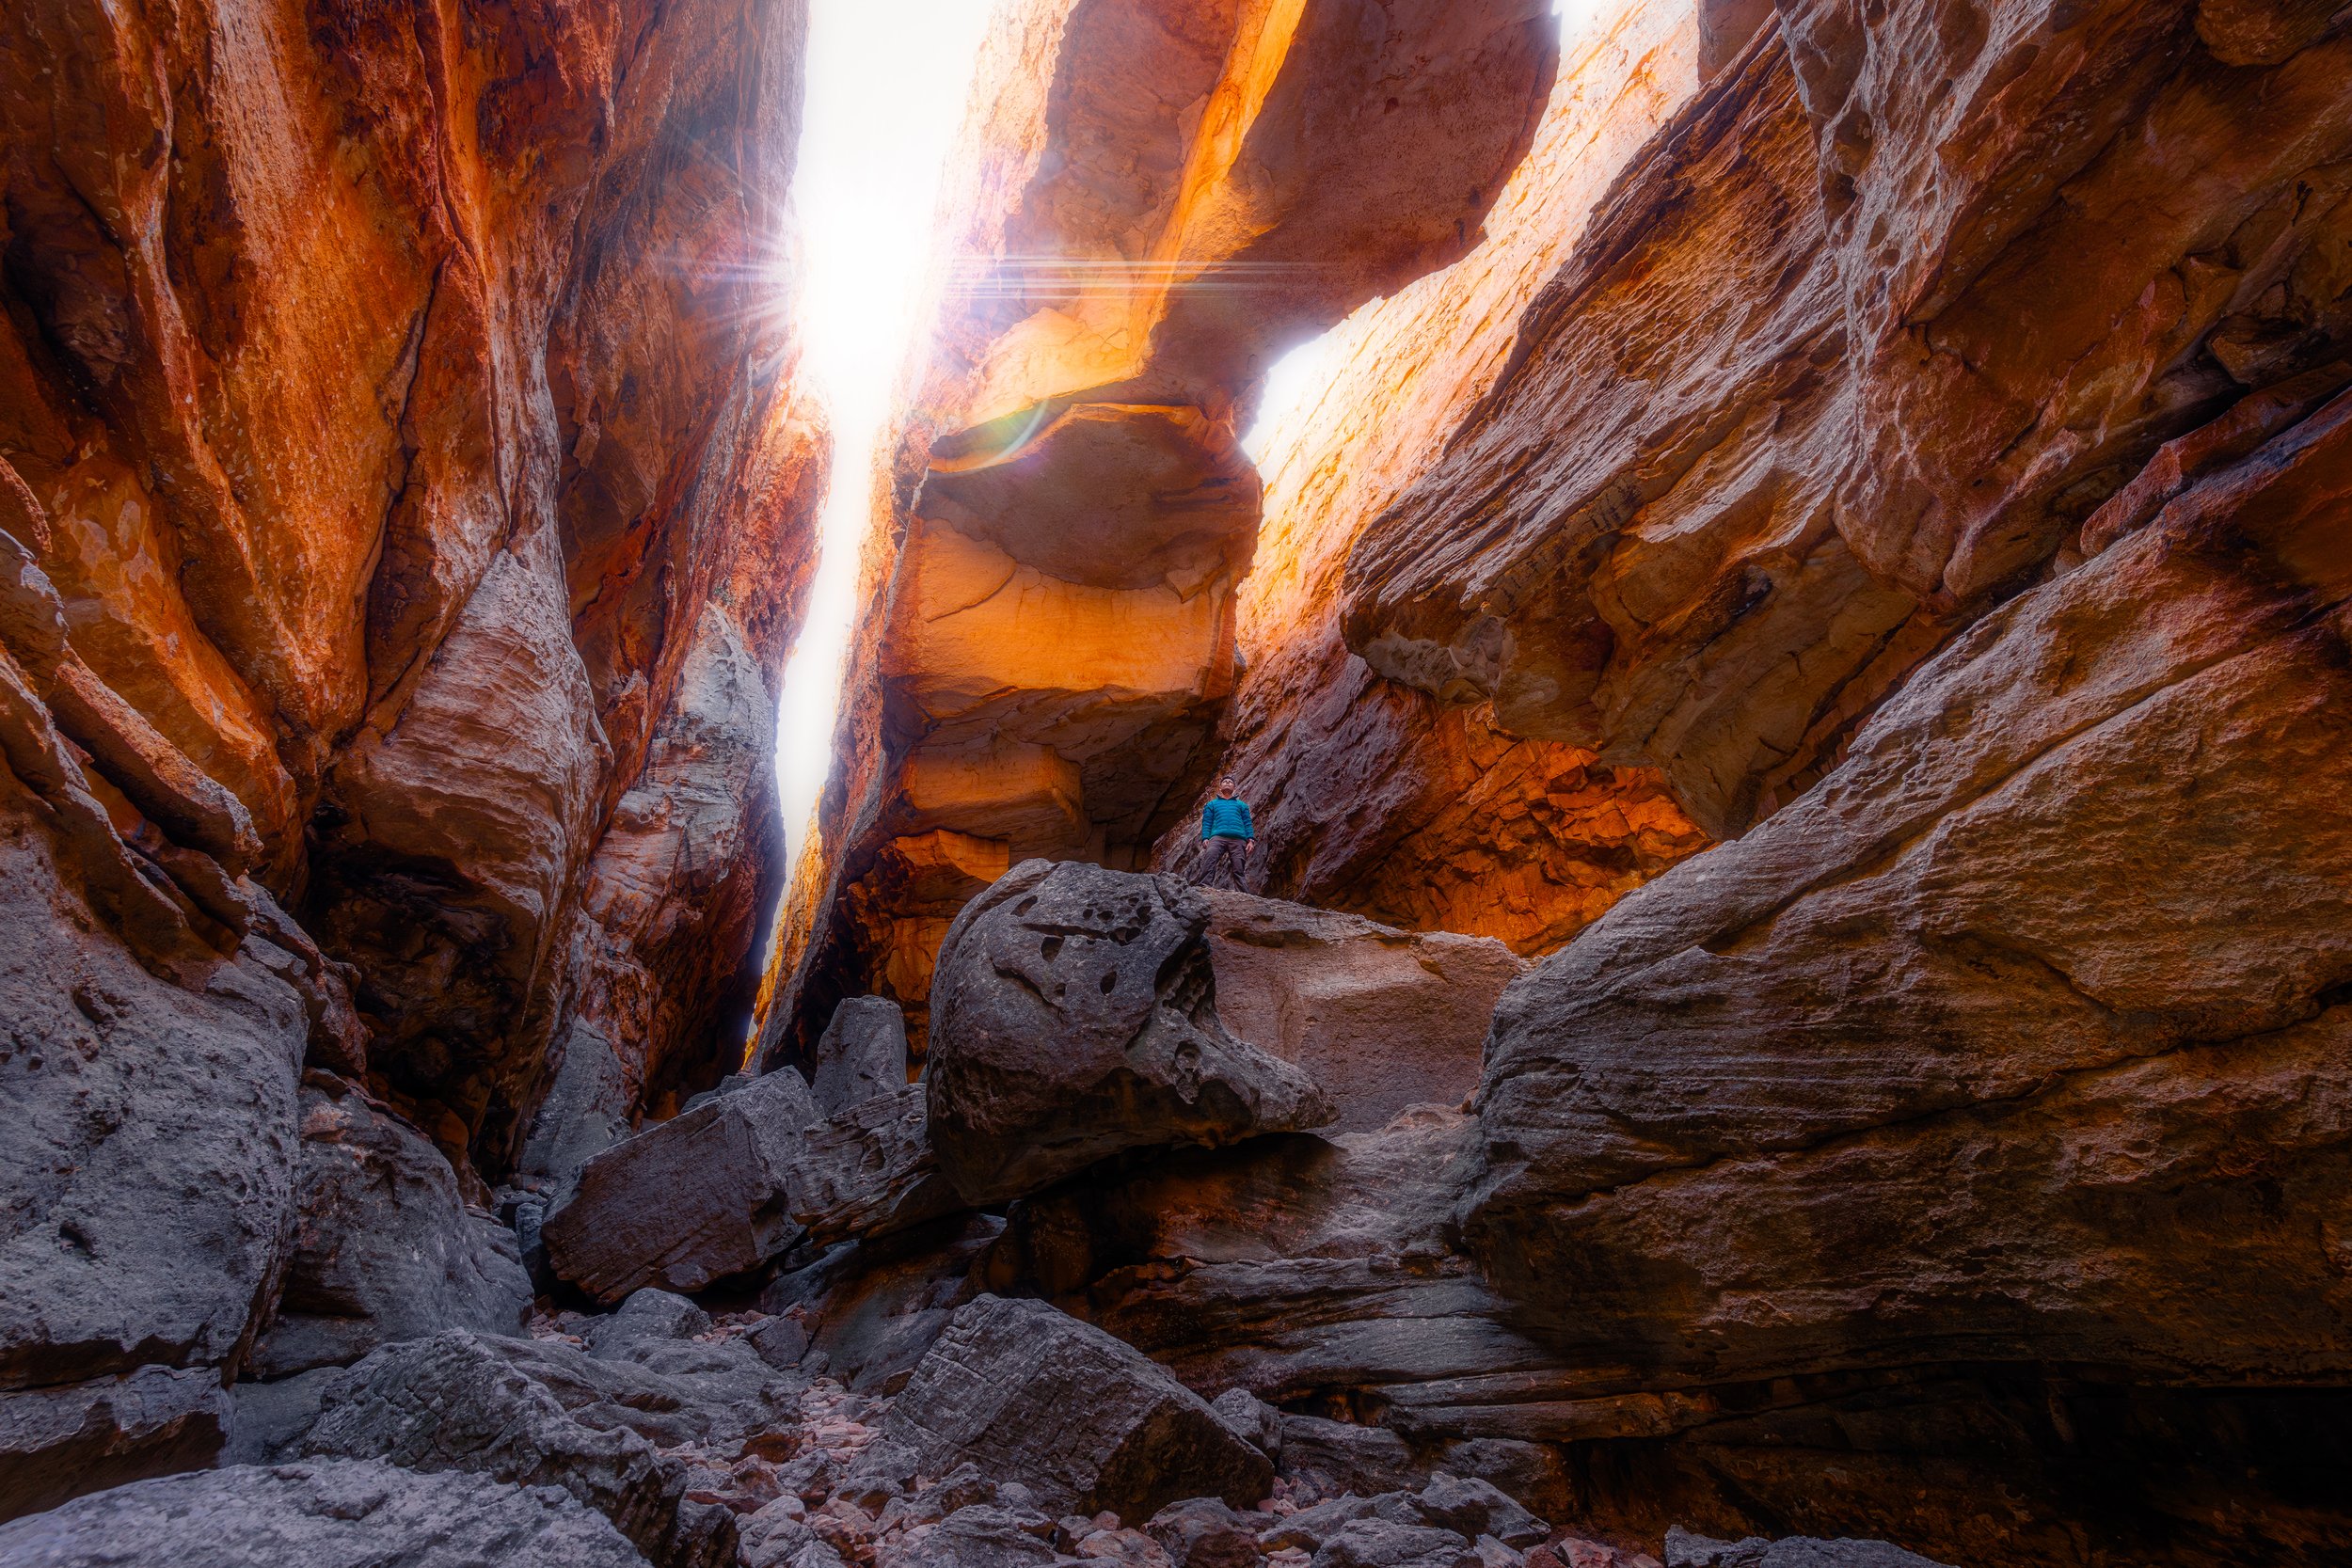
Wolfberg Cracks - This is what you will see if you take the right-path or the right-crack
Summary of the Right-Crack: I have seen people stuck at the first “pull yourself up” challenge on the crack to the right for an hour. I waited for a strong person to ascend, stretched my leg up, placed my foot on the wooden block that supports you, held the rope, and extended my other hand to the man to pull me up. Whether alone or in a group, there’s no room for error. Then you walk along the edge of a rock with ropes to make a left U-turn towards the cracks. Afterwards, you pull yourself up again, which is relatively easy to do to enter the cracks (you will see that in the video below). Enjoy the cracks, scramble, and be amazed by the sheer beauty of nature’s wonders and a corridor carved by wind and water over millions of years. Once you are in the right-cracks, there’s no way back. To exit, go to the narrow ally towards your left. You might think you’ve reached a dead end through that narrow alley, but it’s time to find a hole in the ground (see the video below). You will lie on your back, push yourself under it, and climb another hole. It is difficult to explain, but you will know what to do. You exit the crack and make a left U-turn to go to the crack on the left and return via the easier route. That’s what they suggest at the reception too.

Wolfberg Cracks Hike - Sweaty and Tired, but Satisfied
Wolberg Cracks Videos
Here are two videos.
The first is from a fellow hiker's cellphone, and it shows the last challenge at the end of the right-crack of Wolfberg Cracks.
I took the right-crack, too, and I was silly enough to carry a large, heavy backpack because it contained all the filming gear. This video wouldn’t have been possible otherwise, so people had to pull my backpack up for me. Enjoy the video below.
If you love travel, life, and photography, I invite you to join my newsletter! My newsletter, Sunday Morning Beans, is only sent once a week on Sunday and it’s a 5-minute read. When you subscribe, you will receive a free ebook with tips to help improve your photography skills. I value your time and privacy, and won’t send you marketing emails; I want to share my journey and inspire you. You can unsubscribe whenever you want, and that’s perfectly fine. Let’s connect as a community and enjoy this adventure together!
You are also welcome to browse my photo gallery for more photos of South Africa and the Cedarberg region. I am always an email away, so feel free to contact me for more information or hire any of my services as a photographer and filmmaker.
Kind regards
Muji